
Planning a trip to Japan soon? Traveling just got easier with three important airport and airline updates.
You can now clear immigration faster, enjoy free domestic flights, and experience a newly upgraded airport terminal.
Here’s exactly how these new changes will make your Japan trip smoother, cheaper, and more enjoyable. 😊
1. New Japan Airport Immigration System
a. What’s New
- One-Stop Entry: You can now clear immigration and customs in one go at Haneda, Narita, and Kansai airports.
- Automated Kiosks: Simply scan your passport and QR code at the kiosk. It will also take your photo and fingerprints (for foreign travelers).
- Express Lane for Customs: After the kiosk, use a dedicated express lane for customs where you’ll only need to show your passport to an officer.
- No Paper Forms Needed: Complete immigration and customs forms online through Visit Japan Web before your trip. No more paper forms.
b. Who Can Use It
- Tourists & Short-term Visitors: You can use the new system if you’re visiting short-term (tourism or business) and register online before arrival.
- Japanese Citizens: You can use this too, but you’ll only have your photo taken (no fingerprints).
- Not Eligible Travelers: If you’re living in Japan with a long-term visa (such as work or study), you can’t use these kiosks and need to visit the regular immigration counters.
c. How to Prepare Before Your Flight
- Visa Check: Check if you need a visa or if your country is visa-exempt. Popular visa-exempt countries include the United States, Canada, Australia, Singapore, Malaysia, Thailand, Hong Kong, the United Kingdom, and most European countries. If your country requires a visa, apply online before traveling.
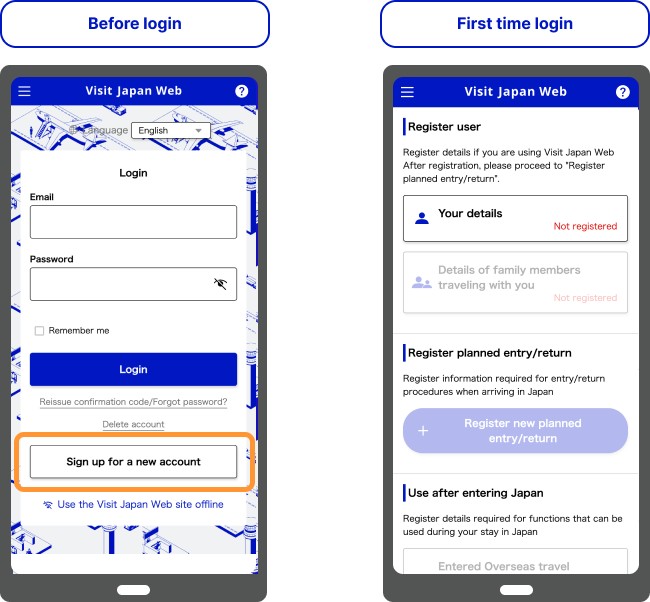
- Register on Visit Japan Web: Sign up online, enter your passport details, flight info, hotel address, and answer a few immigration and customs questions.
- Get Your QR Code: After completing registration, save your QR code to your phone (screenshot recommended). You’ll use this at the airport.
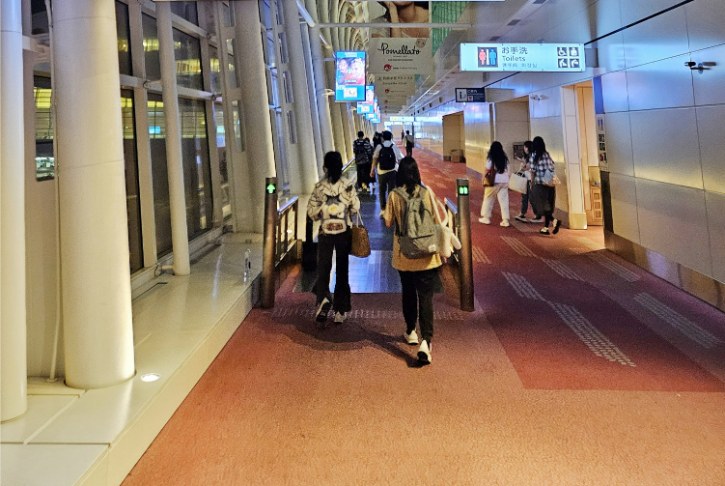
d. What to Do at the Airport (Step-by-Step)
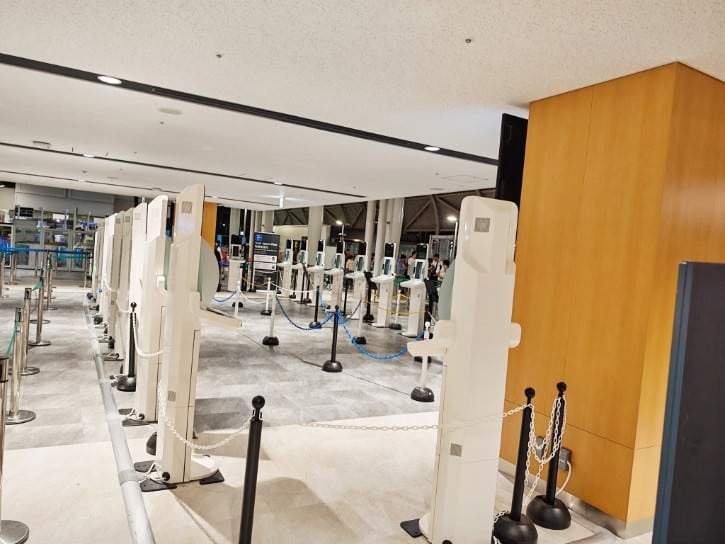
- At the Kiosk: Scan your passport, then scan your QR code, take your photo, and provide fingerprints.
- Express Lane for Customs: After using the kiosk, proceed to the custom’s express lane. Simply show your passport to the customs officer to clear this step.
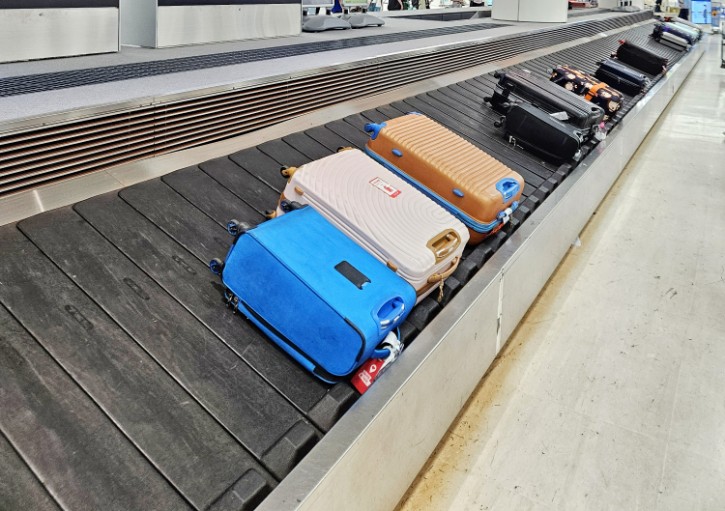
- Pick Up Bags: Go to baggage claim and collect your luggage.
e. Where Is It Available
- Kansai Airport (Osaka): Available in both Terminal 1 and Terminal 2 for all international flights.
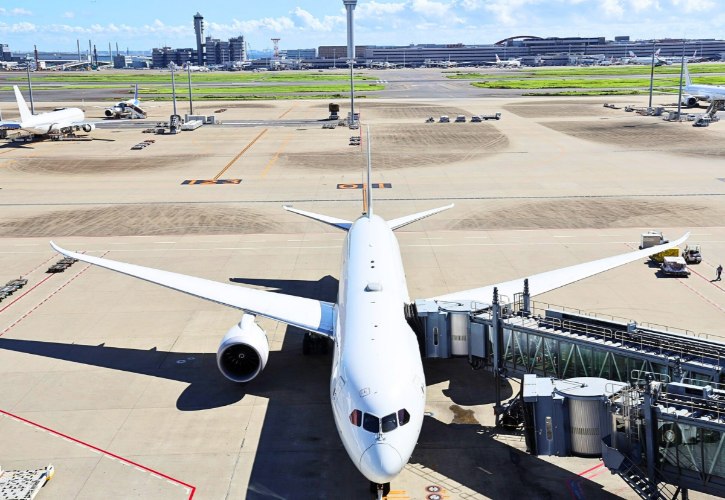
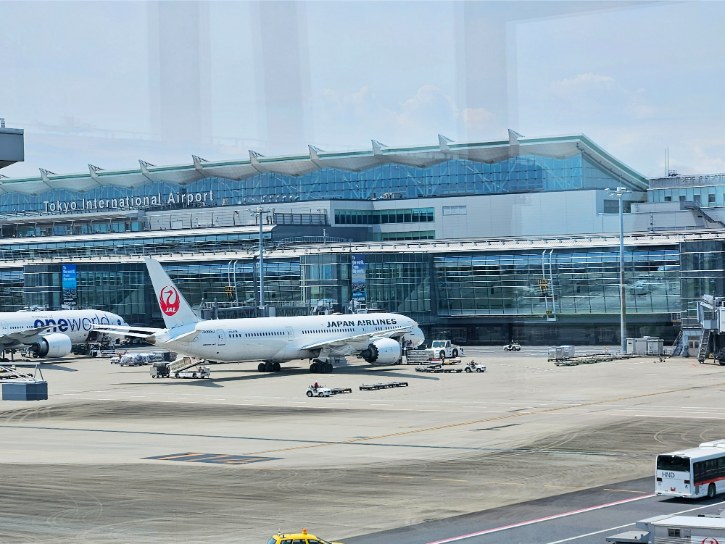
- Haneda Airport (Tokyo): Available in Terminals 2 and 3 (international flights).
- Narita Airport (Tokyo): Currently only in Terminal 3 (used mostly by budget airlines); Terminals 1 and 2 don’t have it yet.
- Expansion Plans: Japan plans to introduce this system at all other international airports in the future.
2. JAL Free Domestic Flight Deal for Tourists
a. What’s the Deal
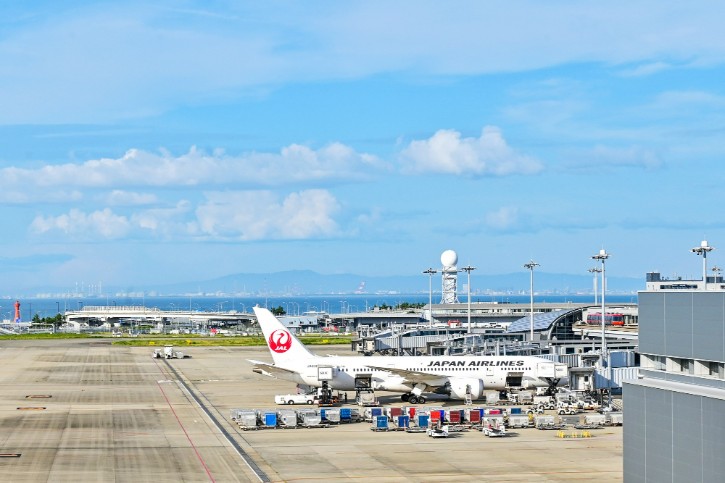
- Free Domestic Flights: When you book a round-trip international flight with Japan Airlines (JAL), you get a free domestic round-trip flight within Japan.
- Many Cities Available: You can choose from many domestic cities served by JAL.
- Current Availability: The deal is currently ongoing, with no confirmed end date.
b. Who Is Eligible
- International Travelers: You must travel from outside Japan on a round-trip flight booked with JAL.
- Eligible Countries: Currently includes the US, Canada, Mexico, Australia, New Zealand, Thailand, Singapore, Vietnam, Philippines, Indonesia, India, China, and Taiwan.
- Stay Updated: JAL might add more countries later, so check their website regularly.
- Easy Eligibility: You don’t need special memberships; just book from an eligible country on a round-trip JAL flight.
c. How to Qualify
- Book Together: Book your domestic flight along with your international JAL flight in a single reservation through JAL’s official site.
- Round-Trip Required: This offer only applies if your international booking with JAL is round-trip.
- Stopover Option: You can take your domestic flight immediately or spend a few days at your arrival city, as long as it’s booked together.
d. Fees to Note
- Stopover Fee: If you’re coming from the US, Canada, Mexico, or China and spend over 24 hours in your arrival city before flying domestically, you’ll pay around $100 USD. Travelers from other eligible countries don’t pay this fee.
- Small Taxes and Fees: The flight itself is free, but you might pay small airport taxes or fees, usually just a few dollars.
- No Hidden Costs: Apart from minor taxes, there are no extra airline fees or charges for your domestic flight.
e. Baggage Allowance
- Economy & Premium Economy: You can check two bags free, each weighing up to 23 kg (50 lbs).
- Business & First Class: You can check three bags free, each up to 32 kg (70 lbs).
3. Kansai Airport Terminal 1 Reopens After Renovation
a. What’s New in Upgraded Terminal 1
- More Space: The international terminal area is now 60% larger, and passenger capacity has doubled. This gives you more space to relax and move around comfortably.
- Simpler Layout: Security and immigration have been combined into one central area, making it easier to find your way.
- New Shops and Restaurants: Many new shopping and dining options have opened, including brands new to Kansai Airport.
- Better Facilities: New automated boarding gates and a larger lounge area make your wait more comfortable and boarding quicker.
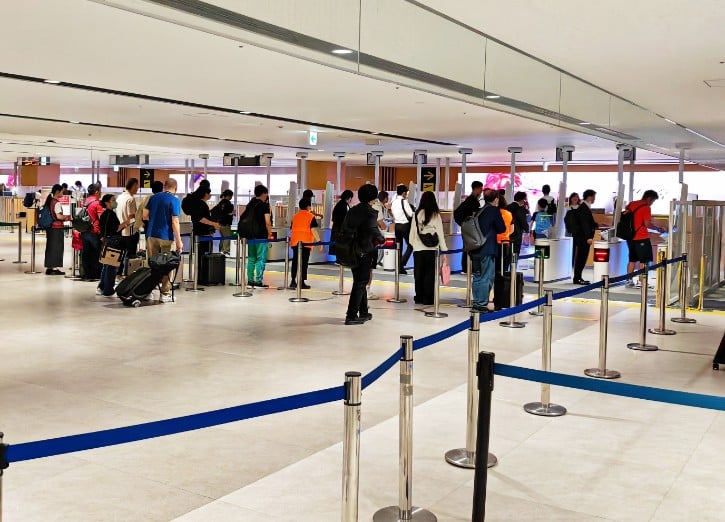
b. Streamlined Security and Immigration
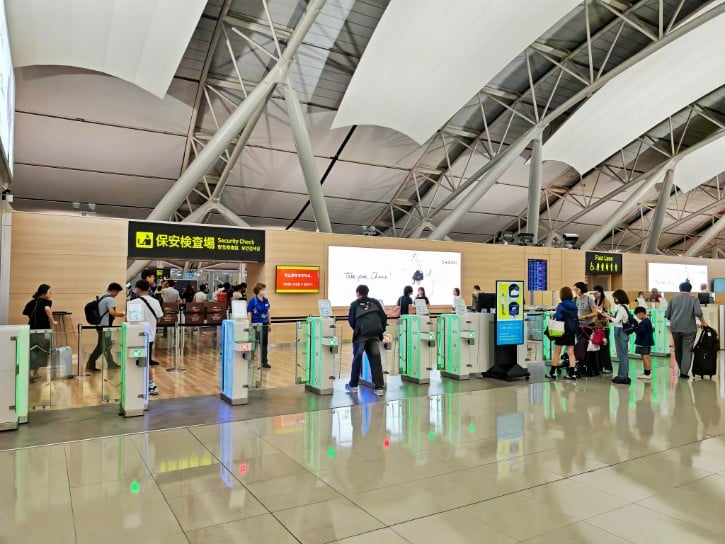
- Central Security Check: Everyone now goes through a single, large security area, making it quicker and less confusing.
- Faster Screening: Expanded security areas with new equipment mean shorter waiting times.
- Automated Passport Gates: Electronic gates help speed up passport control for eligible travelers.
- Roomier Immigration Area: Passport control is now in a bigger, more open space, helping lines move faster.
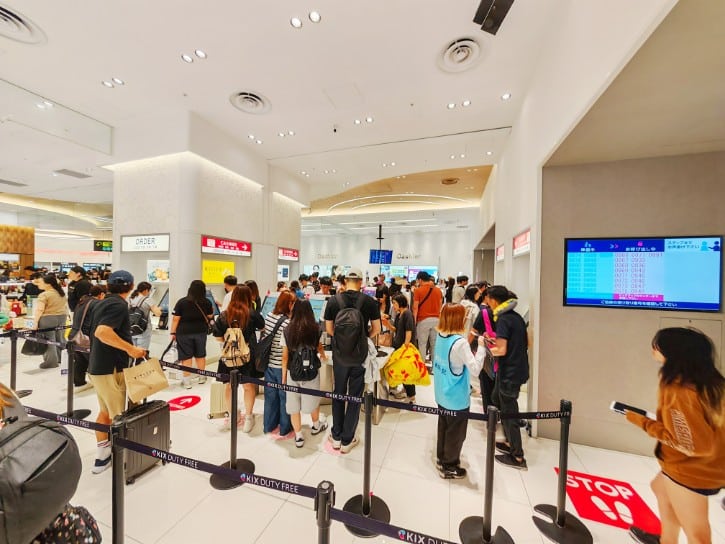
- Duty-Free on Arrival: You can now shop duty-free immediately after passing customs when you arrive.
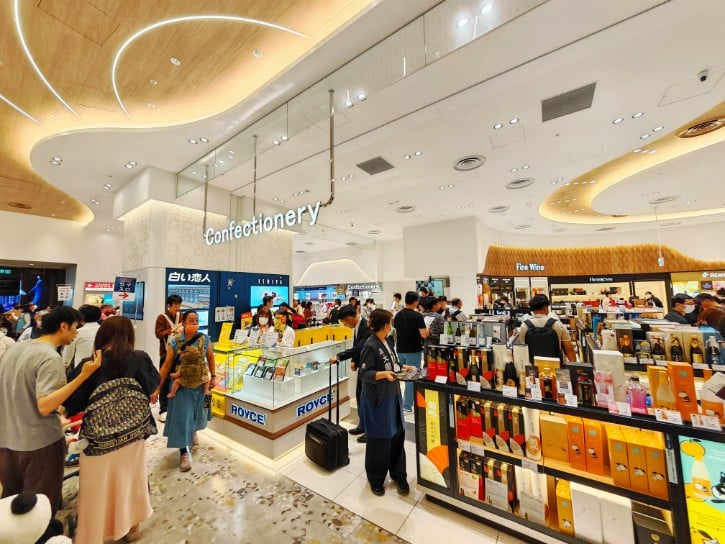
c. Enhanced Shopping and Dining
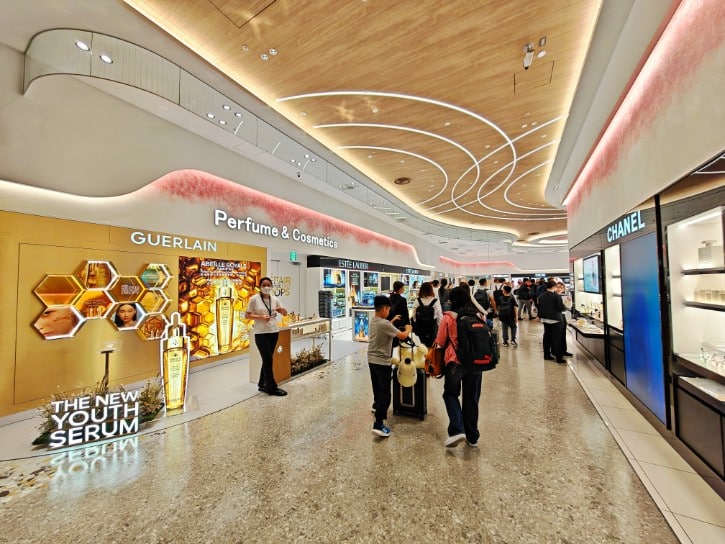
- Walk-Through Duty-Free Area: After security, you’ll walk directly through a large duty-free shopping zone offering easy shopping.
- Four Themed Shopping Zones: You’ll find four distinct shopping areas, including luxury brands, local products, everyday items, and family-friendly stores.

- More Food Options: Plenty of new restaurants serve everything from local Japanese dishes like tempura and takoyaki, to international cafes.
d. Getting Around Inside the Airport
Easy-to-Understand Signs: Clear, English-language signs throughout the terminal make navigation straightforward.
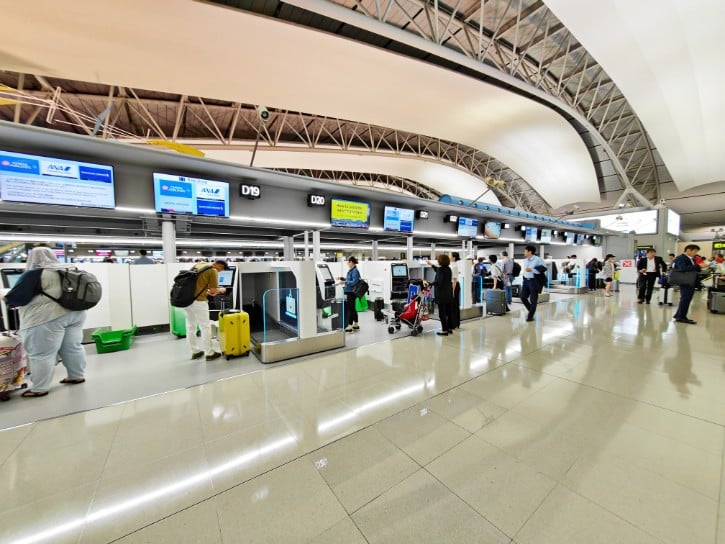
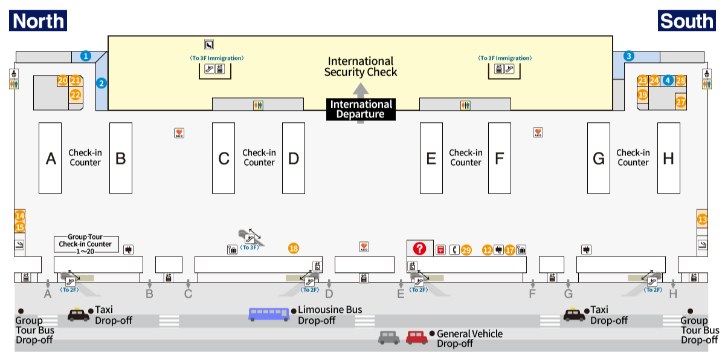
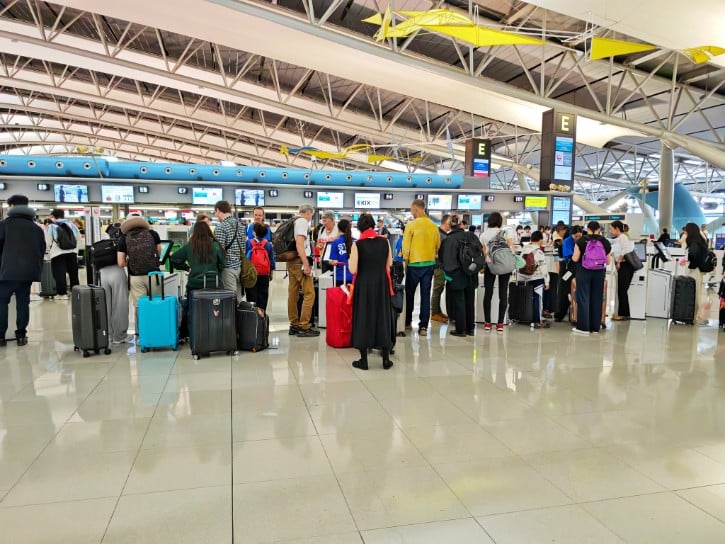
- Check-in (4th Floor): All airline check-in counters are located here, clearly marked by airline names. You’ll also find information desks, baggage drop-off counters, and self-check-in kiosks to assist you.

- Immigration (3rd Floor): After check-in, head down to the 3rd floor for passport control.
- Shopping, Dining & Gates (2nd Floor): Once you pass immigration, you’ll find plenty of shops, restaurants, and all boarding gates here.
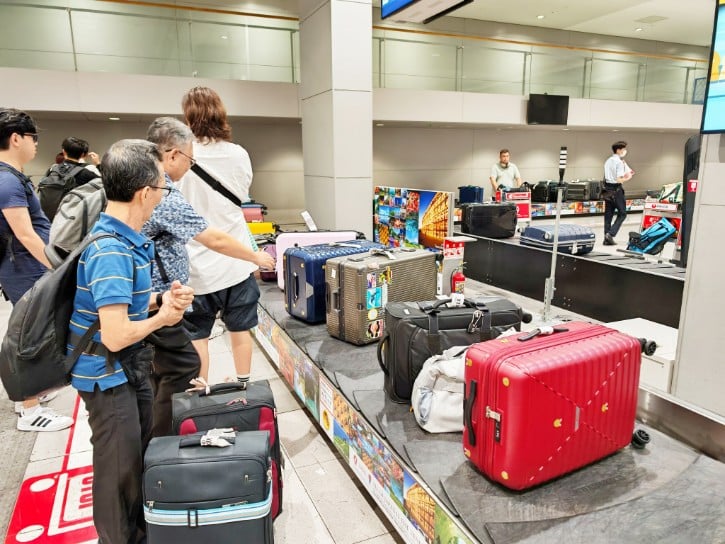
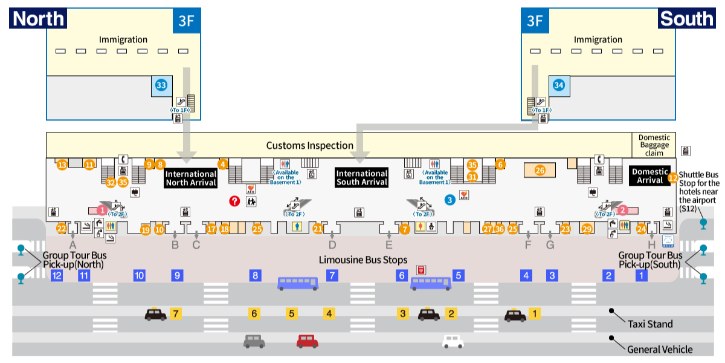
- Arrivals & Baggage Claim (1st Floor): When you arrive, you’ll collect your luggage and exit the airport from this floor.
Good to Know: Flying with Portable Chargers
a. Important Rules for Bringing Power Banks on Planes
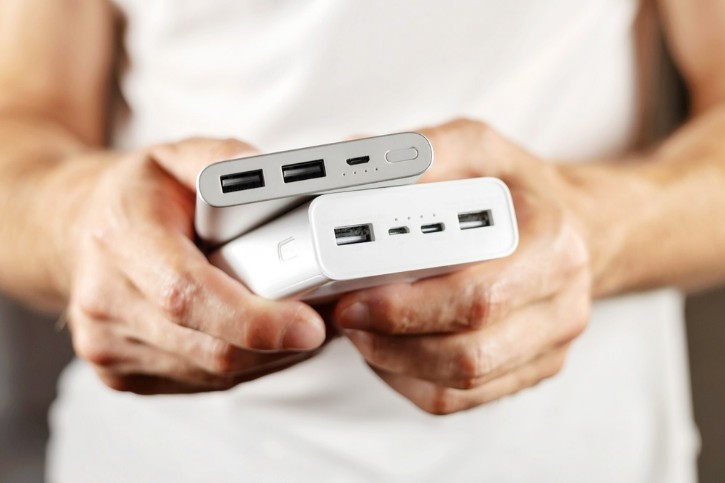
- Carry-On Only: You must pack power banks in your carry-on bags. They aren’t allowed in checked luggage.
- Safety Reason: Airlines require this because power banks can overheat or catch fire. Crew members can quickly handle this in the cabin.
b. Power Bank Size Limits for Flying
- Up to 100 Wh (around 26,800 mAh or less): Allowed without special permission.
- 100–160 Wh: You need to ask your airline first, and typically only two are allowed per person.
- Above 160 Wh: Not allowed at all on flights.
- Check Capacity Easily: Find the “Wh” rating on the power bank label or calculate it yourself (mAh × Voltage ÷ 1000).
c. Current Airline Rules for Using Power Banks Onboard
i. Airlines Banning Use or Charging of Power Banks Onboard

- Singapore Airlines & Scoot
- Thai Airways
- AirAsia
- Malaysia Airlines
- EVA Air
- China Airlines
- Korean Air, Asiana Airlines, Air Busan
- Cathay Pacific, HK Express & Hong Kong Airlines
ii. Airlines Banning Storage in Overhead Bins
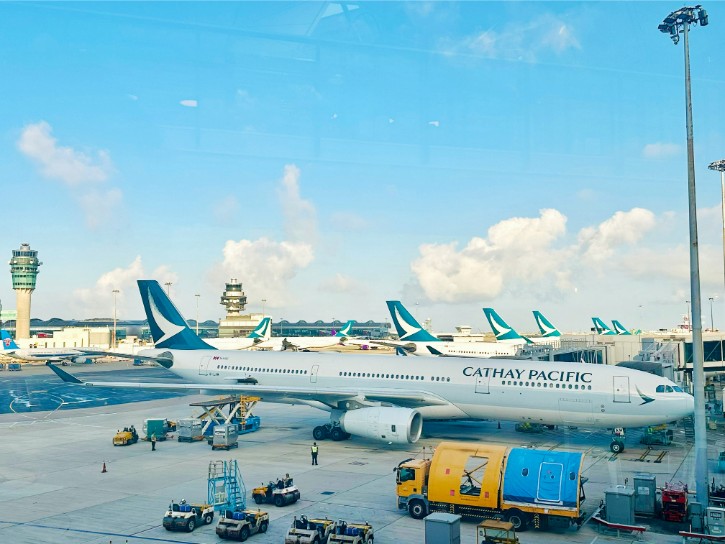
- Cathay Pacific: Power banks must stay with you at your seat.
- Korean Air & Asiana Airlines: Keep power banks at your seat, not in overhead compartments.
iii. Major U.S. Airlines Rules (Delta, American, United)
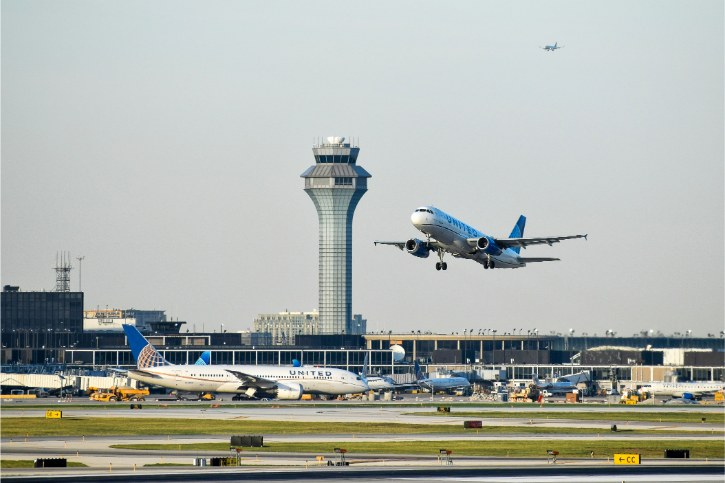
- Allowed for charging your devices onboard.
- Charging the power bank itself onboard (plugging it into plane outlets) isn’t permitted.
iv. General Guidelines (Other Major Airlines)
- Emirates, Qatar Airways, Lufthansa, Air France, British Airways, Qantas: Allow power banks only in hand luggage. They strongly advise not charging power banks during the flight.
d. Safety Tips When Traveling with Your Power Bank
- Always Carry-On: Only pack power banks in your hand luggage.
- Protect Your Power Bank: Use a pouch or case to prevent contact with metal objects.
- Keep Handy: Store your power bank with you or under your seat.
- No Charging Onboard: Don’t recharge your power bank using airplane power outlets.
- Use When Needed: Only use power banks when necessary, and never leave them unattended during charging.
- Report Issues Immediately: Tell cabin crew if your power bank overheats, swells, smokes, or has a strange smell.
